Hello everyone. I’ve used a lot of these tutorials, so I thought it was only fair to contribute to them myself. First tutorial, but I will give it my best.
Stocks Used (Eye – Kitty from DeviantArt, Textures – SXC:


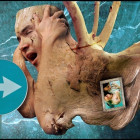
1. Layer the stocks 3 at the bottom, 1 at the top. Texture 1 should also be placed hard left. Hide all but the eye layer and make a new layer above it.
2. Brush over the eyeball in white, opacity and flow around 40-50%. Set this layer to Overlay and mergedown.
3. Duplicate this modified eye layer, hide the copy. On the original, colour with Hue/Saturation. I’m using:
Hue – 207
Saturation – 57
Lightness – +10
With Colourise checked
4. Unhide the eye copy, and Hue/Saturation. Take saturation down to about 60% and don’t tick Colourise.
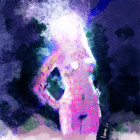
5. To make the eye more vivid, add a layer mask on Eye Copy. Take a black brush, flow and opacity about 50-60% and brush *In the mask* the iris, making sure the pupil is avioded.
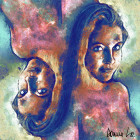
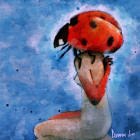
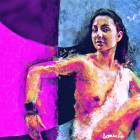
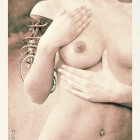
Here is mine so far:

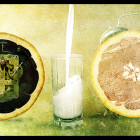
6. Ok. Now to add texture 1 (I will call it Rust). Set this layer to overlay and add a mask. Make sure colorus are default (Black bg, White fg) and take the gradient tool.
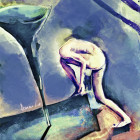
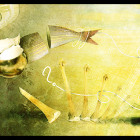
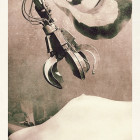
7. There is probably an easier way of describing these next few steps, but I couldn’t put it into words so I made some pics. In the layer mask, use the gradient tool and click, drag, release with approximatly the points shown below:

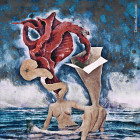
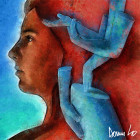
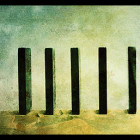
8. Duplicate this layer, set it do Linear Light and reduce fill to around 75%. On this copy layer, fill the mask with a gradient like this:

9. Unhide the nails in wood layer (I will call it Nails). Set to Linear Burn, 90% opacity and around 70% fill. Add a layer mask, and use approximatly these points:

10. Stick in an adjustment layer for Brightness & Contrast. I used -14 Brightness, +10 Contrast for mine.
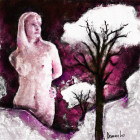
11. Finally, Merge down all layers and take the burn tool, set about 50% on Midtones and go over the light area in the lower left corner. I also burned upper right slightly.
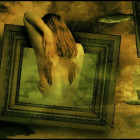
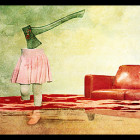
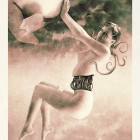
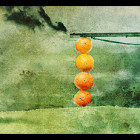
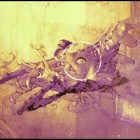
Result:

Well, there you go. My first ArtCone tutorial, hope somebody finds it useful.
~ Cof ~