This tutorials covers 3 methods of extracting an object from the background: the easiest (and least precise) using the Extract Filter, Polygonal Lasso Tool which is not hard to use and gives good results, and Quick Mask which takes a bit more time, but gives the best edge smoothing.
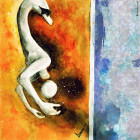
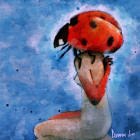
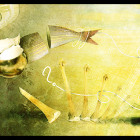
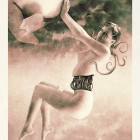
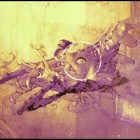
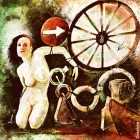
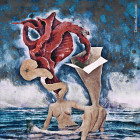
Open your image and choose a method. This is the image I will use. (It’s my drawing, on the garage wall)

Extract Filter
Go to Filter > Extract…. This will open a small window. Notice that your pointer is a rounded brush. You will use the brush to outline the object. Hold Ctrl key (this will snap your moves to edges) and draw a line along the edge of the object. You can change the brush size (on the right of the panel). If you accidentally painted over the object, use the Eraser to erase the green color from those areas.

When you’ve outlined the object with a thick green line, use the Paint Bucket and fill the object. It will be in blue hue now.

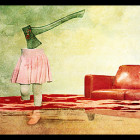
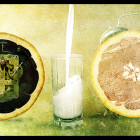
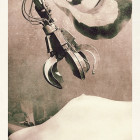
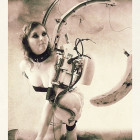
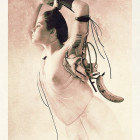
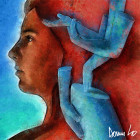
Click OK. Here’s the result.


Polygonal Lasso Tool
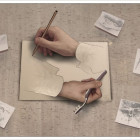
This method is about cutting unwanted parts from your image. Choose the Polygonal Lasso and click along the edge of the object. You can zoom in to make your selection more precise.

You don’t have to select the whole object. Divide your work in smaller parts, because you might make a bad move and if you’re selecting the whole object at once, you’ll have to cancel your selection and start over. When you think you have a precise enough selection of some part, click somewhere away from the edge and proceed with selection along the rectangular edge of your image, until you have some deformed rectangular area selected. Press delete.

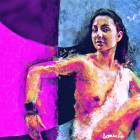
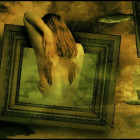
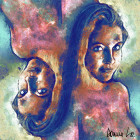
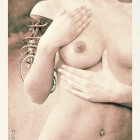
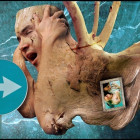
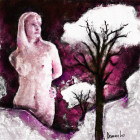
Repeat this step for the rest of the image. This is what I get.


Quick Mask Mode
Take the Lasso (or Polygonal Lasso) Tool and make a rough selection around your image.

Now press Q to enter Quick Mask mode. The background will be colored red, and your object will be visible. Now take the brush tool, set the color to black and paint around the edges of your object, to fill the background area you missed to select.

By painting over the image, you’re forming a selection. If you painted over the object, use the white color to “delete” the red from those areas. Black color substracts from selection, and white adds to selection. Remember, the area you see clear is selected, and red area is deselected.
Change the brush size to smaller when working around more detailed areas.

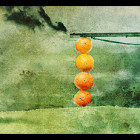
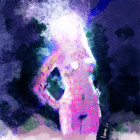
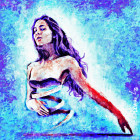
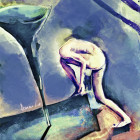
When you’re done, press Q to exit the Quick Mask mode. You can now see the object is selected. Cut the object and paste it onto a new image. You’re done.


About the author:
I am a student who is actually more preoccupied with anything that does not relate to my studies — mostly design, art and music. You can find more about me on my website or my deviantART account.